Homemade Chicken Gyoza Recipe – Crispy, Juicy Japanese Dumplings
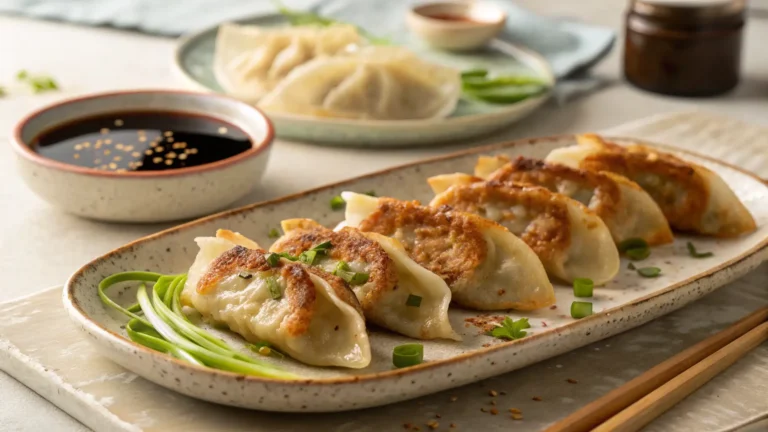
There’s something truly magical about homemade chicken gyoza. These delicate Japanese dumplings are golden and crispy on the bottom, tender and steamed on top, with a savory, juicy filling that bursts with flavor in every bite. While chicken gyoza may seem intimidating to make at first, this recipe breaks down the process into simple, manageable steps that even beginners can master. Whether you’re craving an authentic Japanese appetizer, planning a dumpling party, or simply want to recreate your favorite restaurant dish at home, this chicken gyoza recipe will become your new go-to.
Gyoza originated in China but became a beloved staple of Japanese cuisine, often served as a side dish alongside ramen or enjoyed as an appetizer with ice-cold beer. The combination of pan-frying and steaming creates that signature texture: crispy, lacy bottoms with soft, pillowy tops. Once you taste these fresh from your own kitchen, you’ll never look at frozen dumplings the same way again.
Why You’ll Love This Chicken Gyoza Recipe
- Restaurant-quality at home – These dumplings taste just like your favorite Japanese restaurant, but fresher and more flavorful
- Customizable filling – Adjust the seasoning, add more vegetables, or make them spicier to suit your taste
- Freezer-friendly – Make a big batch and freeze for quick weeknight meals or last-minute appetizers
- Fun to make – Folding gyoza is therapeutic and rewarding, perfect for a cooking project with family or friends
- Healthier than takeout – Control the ingredients, sodium, and oil for a lighter version of this classic dish
Ingredients
For the Filling:
- 1 pound ground chicken (preferably thigh meat for juiciness)
- 2 cups Napa cabbage, finely chopped
- 2 green onions, finely minced
- 2 cloves garlic, minced
- 1 tablespoon fresh ginger, grated
- 2 tablespoons soy sauce
- 1 tablespoon sesame oil
- 1 tablespoon sake or dry sherry (optional, but recommended)
- 1 teaspoon sugar
- ½ teaspoon white pepper
- ½ teaspoon salt
For Assembly:
- 40-50 round gyoza wrappers (found in Asian grocery stores or well-stocked supermarkets)
- Small bowl of water for sealing
For Cooking:
- 2 tablespoons vegetable oil (divided)
- ½ cup water per batch
- 1 teaspoon sesame oil for finishing (optional)
For the Dipping Sauce:
- 3 tablespoons soy sauce
- 1 tablespoon rice vinegar
- ½ teaspoon chili oil or sriracha (adjust to taste)
- Few drops of sesame oil
How to Make Chicken Gyoza
Step 1: Prepare the Cabbage
Finely chop the Napa cabbage and place it in a clean kitchen towel. Sprinkle with ½ teaspoon salt and let sit for 10 minutes. Then squeeze out as much moisture as possible—this is crucial to prevent soggy gyoza filling. The drier your cabbage, the better your dumplings will hold together.
Step 2: Make the Filling
In a large mixing bowl, combine the ground chicken, squeezed cabbage, green onions, garlic, ginger, soy sauce, sesame oil, sake, sugar, white pepper, and remaining salt. Mix thoroughly in one direction (clockwise or counterclockwise) for about 2 minutes. This helps develop the texture and binds the filling together. The mixture should be sticky and well-combined.
Step 3: Set Up Your Folding Station
Place a gyoza wrapper on a clean, dry surface. Keep remaining wrappers covered with a damp towel to prevent drying. Have your bowl of water and a baking sheet lined with parchment paper ready for the finished dumplings.
Step 4: Fill and Fold the Gyoza
Place about 1 tablespoon of filling in the center of each wrapper. Dip your finger in water and run it along the entire edge of the wrapper. Fold the wrapper in half to create a half-moon shape. Starting from one end, create 5-7 pleats on the top side only, pressing each pleat firmly against the flat back side to seal. The pleated side should curve slightly. Place the finished gyoza on your prepared baking sheet, making sure they don’t touch (they’ll stick together).
Beginner tip: Your first few gyoza might not look perfect—that’s completely normal! They’ll still taste delicious, and you’ll improve with practice.
Step 5: Pan-Fry the Gyoza
Heat 1 tablespoon of vegetable oil in a large non-stick skillet over medium-high heat. Arrange 12-15 gyoza in a single layer, flat side down. Cook undisturbed for 2-3 minutes until the bottoms are golden brown and crispy.
Step 6: Steam-Fry to Perfection
Carefully add ¼ cup of water to the hot pan (it will sizzle and steam vigorously, so stand back). Immediately cover with a lid and reduce heat to medium. Steam for 5-6 minutes until the wrappers are translucent and the filling is cooked through. Remove the lid and let any remaining water evaporate, allowing the bottoms to crisp up again for 30-60 seconds.
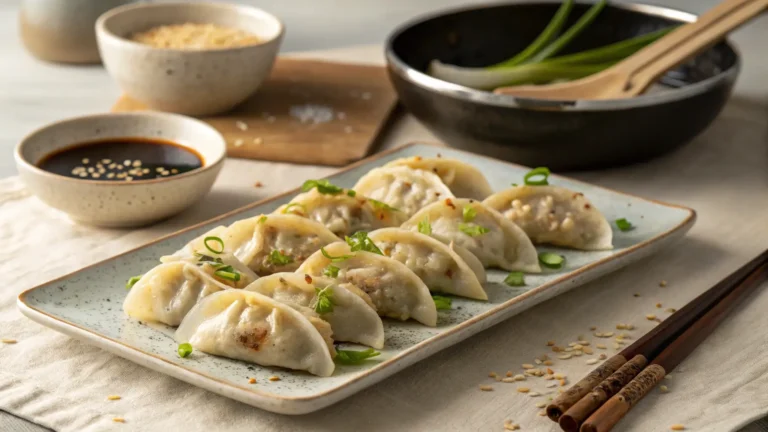
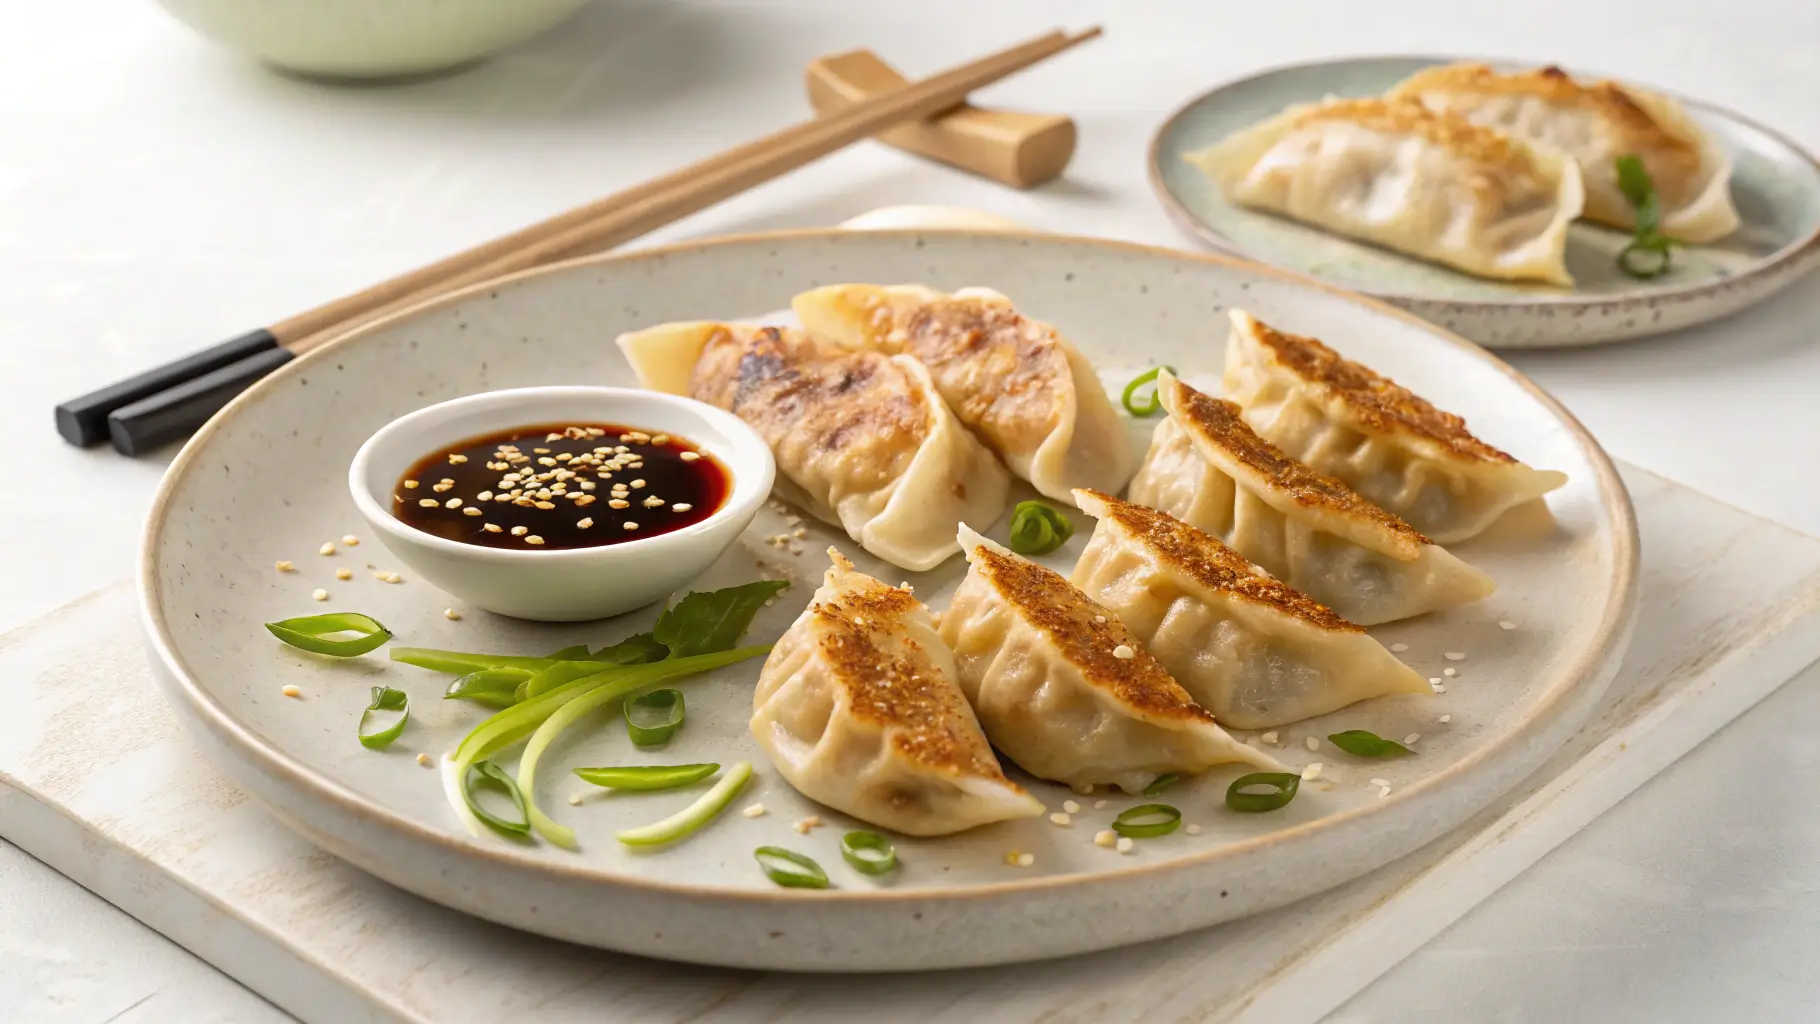
Step 7: Serve
Transfer to a serving plate, crispy side up. Drizzle with a few drops of sesame oil if desired. Repeat the cooking process with remaining gyoza, adding fresh oil to the pan each time.
Recipe Tips & Variations
Protein Swaps: Replace ground chicken with ground pork (traditional Japanese style), turkey, or a mix of chicken and shrimp for added texture and flavor.
Vegetarian Version: Use crumbled firm tofu, finely chopped mushrooms, and extra cabbage. Add a tablespoon of miso paste for umami depth.
Extra Vegetables: Incorporate finely minced shiitake mushrooms, carrots, or chives into the filling for additional nutrition and flavor.
Spicy Kick: Add 1-2 teaspoons of gochugaru (Korean chili flakes) or minced fresh chili to the filling for heat.
Make-Ahead Tip: Assemble all the gyoza and freeze them uncooked on a baking sheet. Once frozen solid, transfer to freezer bags. Cook directly from frozen, adding 2-3 extra minutes to the steaming time.
Gluten-Free Option: Use gluten-free gyoza wrappers (available at specialty stores) and tamari instead of soy sauce.
Serving Suggestions
Chicken gyoza are incredibly versatile and can be served multiple ways:
- As an appetizer: Arrange on a platter with small bowls of dipping sauce for parties or gatherings
- With ramen: Serve 4-5 gyoza alongside a steaming bowl of ramen for an authentic Japanese meal
- Gyoza bowl: Serve over steamed rice with pickled vegetables and a drizzle of sauce for a complete meal
- Lunch box: Pack cooled gyoza with dipping sauce in a separate container for a delicious packed lunch
- With beer: Pair with cold Japanese beer or sake for a traditional izakaya-style experience
The classic dipping sauce enhances the flavors beautifully, but you can also serve with ponzu sauce, spicy mayo, or even a simple mixture of soy sauce and rice vinegar.
Storage & Freezing Instructions
Room Temperature: Cooked gyoza should not be left at room temperature for more than 2 hours due to food safety concerns.
Refrigerator: Store cooked gyoza in an airtight container for up to 3 days. Reheat in a skillet with a little oil and water to restore crispiness, or microwave for 1-2 minutes (though this will soften the bottoms).
Freezing Uncooked Gyoza: This is the best method for meal prep. Arrange uncooked gyoza on a parchment-lined baking sheet without touching. Freeze for 2-3 hours until solid, then transfer to freezer bags. They’ll keep for up to 3 months. Cook directly from frozen without thawing—just add an extra 2 minutes to the steaming time.
Freezing Cooked Gyoza: While possible, the texture won’t be quite as good. Store in airtight containers for up to 1 month. Reheat in a skillet for best results.
Nutrition Information
Per serving (5 gyoza): Approximately 240 calories, 18g protein, 22g carbohydrates, 8g fat, 1g fiber, 580mg sodium
Note: Nutritional values are estimates and will vary based on specific ingredients used and portion sizes.
Conclusion
Making homemade chicken gyoza is easier than you might think, and the results are absolutely worth the effort. The combination of crispy, golden bottoms and tender, juicy filling creates a texture and flavor experience that store-bought dumplings simply can’t match. Whether you’re making them for a special occasion or meal prepping for the week ahead, this recipe delivers authentic Japanese flavor right in your own kitchen.
The beauty of gyoza is that they improve with practice—each batch you make will be better than the last. Don’t worry about making them look perfect; even imperfectly shaped dumplings taste incredible. Gather your family or friends, put on some music, and make dumpling-folding a fun cooking activity.
Have you tried this chicken gyoza recipe? I’d love to hear how it turned out! Leave a comment below with your results, any variations you tried, or questions you might have. If you enjoyed this recipe, please share it with fellow dumpling lovers and come back to let me know how your gyoza adventure went!
Frequently Asked Questions (FAQs)
Can I use store-bought wrappers or should I make them from scratch?
Store-bought gyoza wrappers work perfectly and save considerable time. Look for round wrappers specifically labeled for gyoza or potstickers in the refrigerated or frozen section of Asian grocery stores. Homemade wrappers are lovely but require extra time and skill, so they’re completely optional for this recipe.
Can I make chicken gyoza ahead of time?
Absolutely! You can assemble the gyoza up to 24 hours in advance and refrigerate them on a parchment-lined tray covered with plastic wrap. For longer storage, freeze them uncooked (see storage instructions above). This makes them perfect for entertaining—do all the work ahead and just cook when guests arrive.
How do I know when the gyoza are fully cooked?
The gyoza are done when the wrappers become translucent and slightly glossy, the bottoms are golden brown and crispy, and the filling reaches an internal temperature of 165°F (74°C). If you’re unsure, cut one open to check—the chicken should be completely white with no pink remaining, and the vegetables should be tender.
Why are my gyoza sticking to the pan?
Sticking usually happens for three reasons: the pan wasn’t hot enough before adding the gyoza, you didn’t use enough oil, or your pan isn’t non-stick. Always preheat your skillet properly and use a good quality non-stick pan or well-seasoned cast iron. Adding the water quickly and covering immediately also helps prevent sticking.
Can I bake or air fry gyoza instead of pan-frying?
Yes, though the texture will differ slightly. For air frying, lightly spray the gyoza with oil and cook at 375°F for 10-12 minutes, flipping halfway through. For baking, brush with oil and bake at 400°F for 15-18 minutes until golden. Both methods produce crispy gyoza, though they won’t have the traditional crispy-bottom, soft-top texture of the steam-fry method.
What can I substitute for Napa cabbage?
Regular green cabbage works well—just chop it extra fine and be sure to squeeze out all the moisture. Bok choy is another excellent alternative. Some cooks use a combination of cabbage and finely chopped spinach or kale. Whatever you choose, removing excess moisture is critical to prevent soggy filling.